by
by Table of Contents
Creating a Blockchain from scratch is not exactly an easy task. There are different methods to do it, but all of them require a high degree of knowledge of certain programming languages, tools and even operating systems that are not very widespread among users, such as Linux.
Fortunately, there are other much more affordable alternatives that allow people who are starting in this world of Blockchain to put into practice much of the existing literature on this subject.
As we know, cryptocurrencies use the Blockchain as the basis for all their functions and many of them have released their code, so we can use it to create our own currency and, therefore, have our own Blockchain. This in itself is not easy either, and we would still need quite a lot of programming knowledge to be able to modify the code at our whim and finally make it functional, however, in recent years there have appeared platforms that do this work for us through simple steps.
This is the case of the walletbuilders.com platform, which we will use to create our own cryptocurrency in a very simple and totally free way.
Step 1 – Create your own cryptocurrency and blockchain:
First we must access the website https://www.walletbuilders.com/. Once inside we will see the main page which has 2 buttons: “Get started” and “Learn more”. The second button will take us to the section where we are given some explanations about the purpose of the website and the different working tests that we can choose for our future cryptocurrency. We will click on the first button that told us “Get started”.

Step 2 – Create your own cryptocurrency and blockchain:
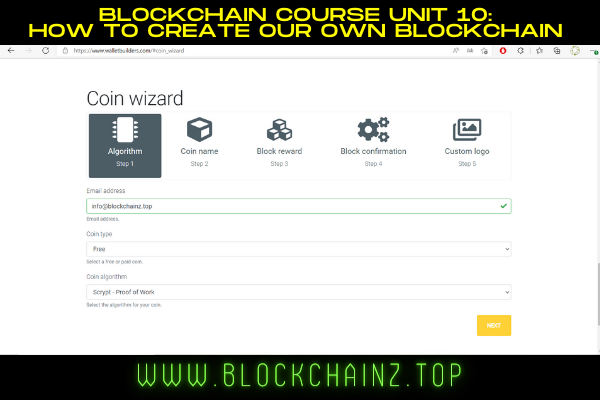
Once we click the first button the website will send us to the tutorial for the creation of our coin. The tutorial will be positioned by default in step 1 (step 1) called “Your coin”.
Let’s see what fields appear in each step and what their function is:
– Email address: We place our email address which will be needed later.
– Coin type: We can select if we want it to be paid or free. We leave it in the “Free” option.
– Coin Algorithm: In this last field we can choose what type of algorithm our coin will be based on. For this tutorial, we will leave it default to the “Scrypt [PoW]” option and click at the bottom right on the yellow button where it says “NEXT”.
Step 3 – Create your own cryptocurrency and blockchain:
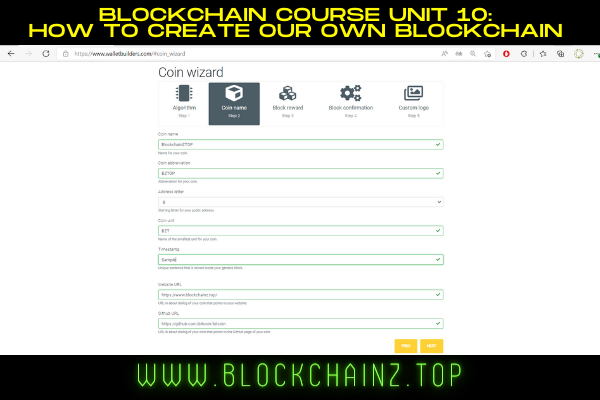
– Coin name: Here we will put the name we want our coin to have, for example, “BlockchainZTop”.
– Coin Abbreviation: In this field we put the abbreviation of our coin, for example, “BZTOP”.
– Address letter: We put a number or a letter with which we want the public addresses to begin, for example, the letter “B”.
– Verbal timestamp: We write a phrase that will be linked to the genesis block, for example, “Sample”.
– The next 2 fields “Website URL” and “Github URL“, are used to put informative links about our currency and we click on “NEXT”.
Step 4 – Create your own cryptocurrency and blockchain:
– Block reward: The amount of coins the miners will receive in the proof of work, we will put “100”.
– Block halving: This field refers to the number of blocks that must be in the chain before halving. We put, for example, “50,000”.
– Coin supply: This field is automatically filled in taking into account the data entered for the mining reward and the blocks needed for halving. Click on the “NEXT” button.

Step 5 – Create your own cryptocurrency and blockchain:
– Coinbase maturity: We put the number of blocks we want to pass before the coins can be spent.
– Number of confirmations: Field to set the number of blocks needed for a transaction to be confirmed.
– Target spacing in minutes: Time in minutes that it should take to mine a block.
– Target timespan in minutes: Maximum mining time in minutes until which the difficulty will not be adjusted.
– Node 1 and node 2: This option would be useful to put the address of a node that we have created. However, for this tutorial we will use the ones that the same platform provides us for a while, so we leave it the same as this one and press “NEXT”.

Step 6 – Create your own cryptocurrency and blockchain:
In this step we get a message that tells us, that we have selected a free currency, so it does not allow us to upload our own logo, which is not important for the tutorial. We click on the “PURCHASE” button.

Step 7 – Create your own cryptocurrency and blockchain:
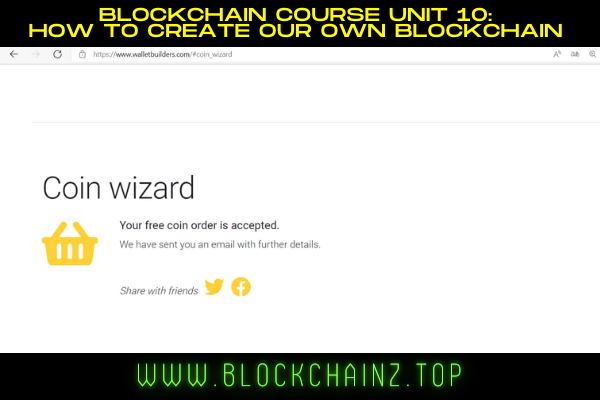
Once we hit the “PURCHASE” button, a message will appear informing us that they have sent us an email with the necessary information to be able to enter the management menu of our cryptocurrency.
Step 8 – Create your own cryptocurrency and blockchain:
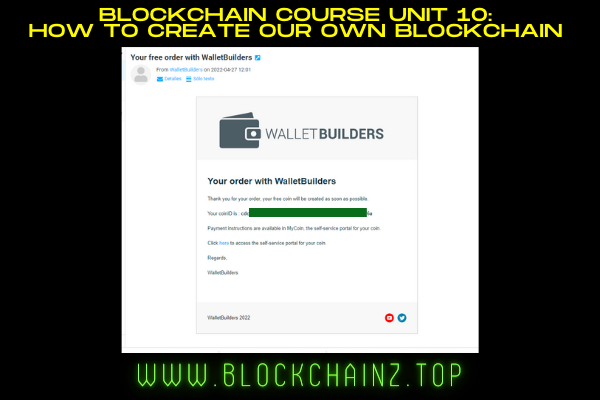
In the email we receive, our “coinID” will appear, which is what we will need to be able to login to the platform.
Step 9 – Create your own cryptocurrency and blockchain:
Once we click on the “login” option on the web, a box will appear where we will have to enter the “coinID” that we were sent to our email.

Step 10 – Create your own cryptocurrency and blockchain:
Finally, we will press the “Login” button and our management menu will appear in which we will be warned that our currency is being created and that we will have to wait a number of minutes. These minutes may vary depending on the configuration we have chosen and the workload of the platform.
When the process of creating our coin is finished, we will be able to see all its features in the menu. In this menu we will also find 2 of the most interesting options. The first one is the possibility to download our own wallet for both Windows and Linux.
Secondly, we will be able to mine our own coins following the indications shown in the “Getting started” menu option.
As you can see, following this procedure it is not difficult to create our own fully operational cryptocurrency with which we can experiment and familiarize ourselves with the functioning of a wallet, mining and finally with the Blockchain itself.